Introduction to Databases
Databases are essential for storing, managing, and retrieving data in applications. Below are three popular database management systems (DBMS) that are commonly used in software development: MySQL, PostgreSQL, and MongoDB. Each database has its strengths and is used based on the requirements of the project.
1. Introduction to MySQL
MySQL is one of the most popular open-source relational database management systems (RDBMS). It uses SQL (Structured Query Language) for querying and managing data. MySQL is well-suited for applications that need fast, reliable, and scalable databases.
Key Features of MySQL:
- ACID compliance: Ensures data integrity and reliability.
- Ease of Use: Simple to set up and use.
- High Performance: Handles high-speed transactions well.
- Replication: Supports master-slave replication for data redundancy.
Installation of MySQL on Ubuntu
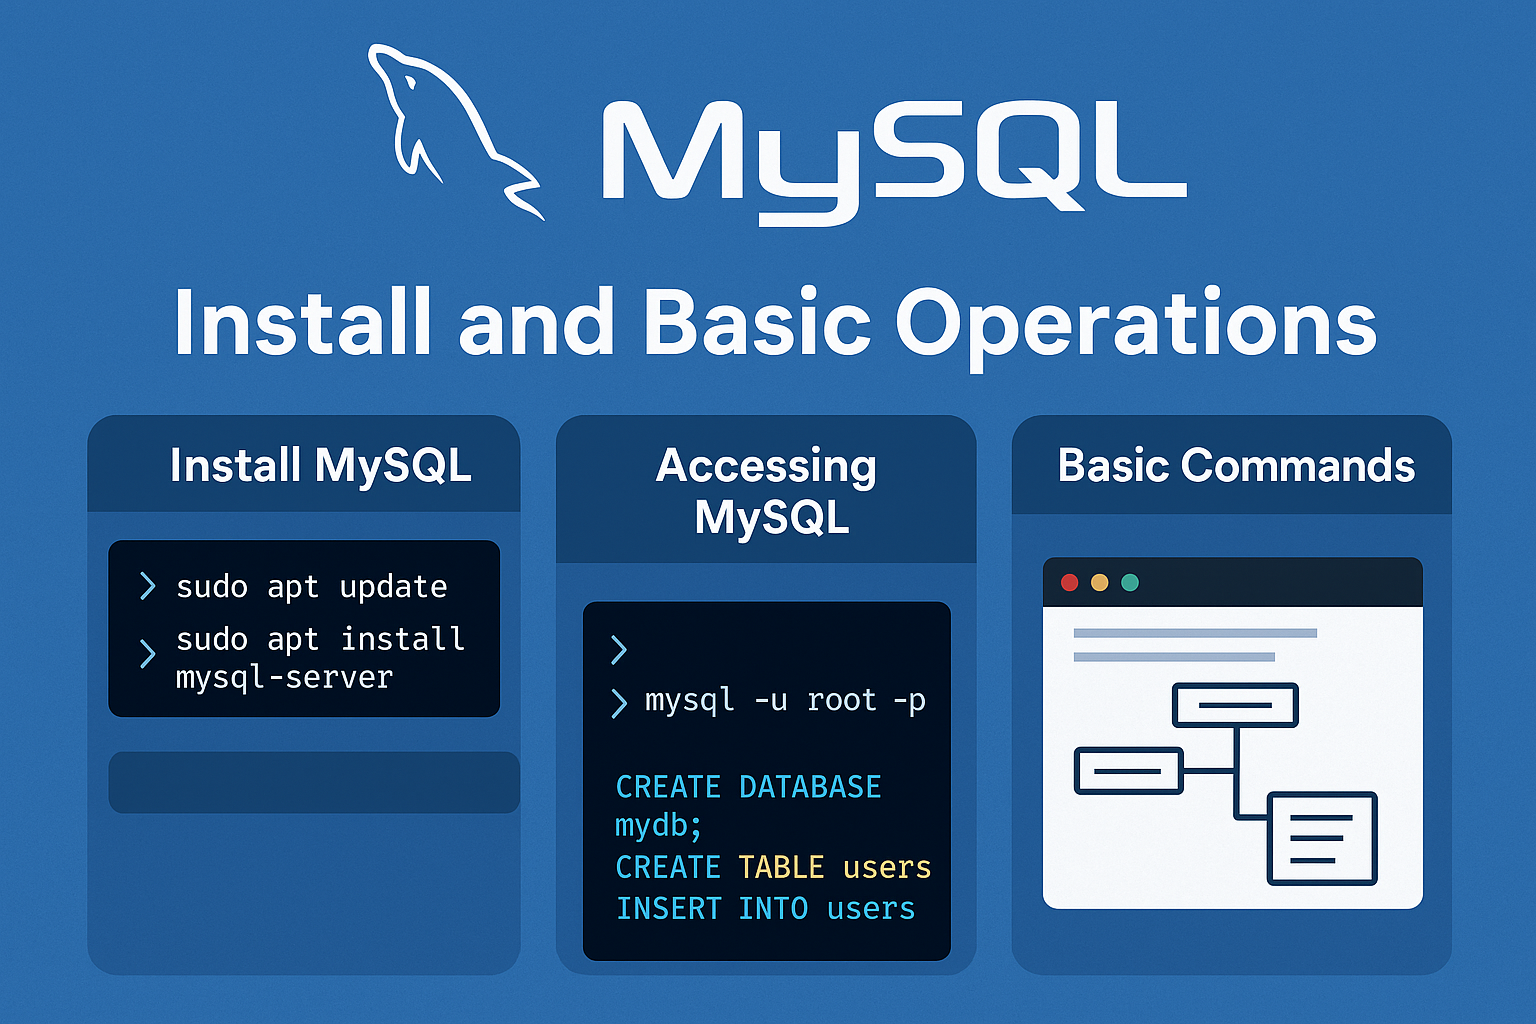
Update package index:
sudo apt updateInstall MySQL Server:
sudo apt install mysql-serveryou can login to mysql server by the command
sudo mysql, now change the default authentication for root with the password of own .alter user 'root'@'localhost' identified with mysql_native_password by 'your_password';now password was change and authentication method was replaced.
exit from the mysql server by the command
exitSecure MySQL Installation: After installation, it’s a good idea to secure the MySQL installation:
sudo mysql_secure_installationThis will prompt you to configure a root password and remove insecure default settings.
enter the root password and press
yfor validation password.enter 0,1 or 2 according to you requirements for the password validation, Press
yfor the others default settings.now if you try to login with
sudo mysqlit will throw access denied now need to login with the user and password
mysql -u root -p
create database example_DB;
show schemas;
now create a new user and grant privileges to the particular database as
create user 'user_name'@'localhost' identified with mysql_native_password by 'new_password';you can see the created user in
mysqldatabase'susertable asuse mysql; select user from user;now grant all privileges to database for the newly created user as
grant all on database_name.* to 'user_name'@'localhost';
exit;
Check MySQL Status: To ensure MySQL is running properly, you can check the status:
sudo systemctl status mysql
Install phpmyadmin
phpmyadmin used php so we have to have php in our server. install php through the command
sudo apt insall phpnow, install phpmyadmin by running command
sudo apt install phpmyadmin
choose webserver for phpmyadmin better to go with apache2 .
read doc and press Yes or No ( better to choose No
after successfully install you can open phpmyadmin in webbrower by running
if you faced issue like while running phpmyadmin as in below
follow below setps
nano /etc/apache2/apache2.conf
# Then add the following line to the end of the file:
Include /etc/phpmyadmin/apache.conf
# Then paste in terminal: restart apache:
/etc/init.d/apache2 restart
2. Introduction to PostgreSQL
PostgreSQL is a powerful, open-source object-relational database system. Unlike MySQL, PostgreSQL is known for its focus on extensibility and standards compliance, as well as its support for advanced data types.
Key Features of PostgreSQL:
- ACID Compliance: Supports transactions and data integrity.
- Extensibility: Can handle custom data types, custom functions, and even advanced indexing methods.
- Concurrency: Uses Multi-Version Concurrency Control (MVCC) for handling multiple transactions efficiently.
- SQL and NoSQL: Supports both relational and NoSQL features like JSONB.
Installation of PostgreSQL on Ubuntu
Update package index:
sudo apt updateInstall PostgreSQL and client:
sudo apt install postgresql postgresql-contribCheck PostgreSQL Status: Verify that PostgreSQL is running:
sudo systemctl status postgresqlSwitch to the PostgreSQL User: PostgreSQL creates a default user
postgresduring installation. Switch to this user:sudo -i -u postgresAccess PostgreSQL Shell: You can enter the PostgreSQL shell by typing:
psql
3. Introduction to MongoDB
MongoDB is a NoSQL database that stores data in a flexible, JSON-like format called BSON (Binary JSON). Unlike MySQL and PostgreSQL, MongoDB is designed for applications that need to handle large amounts of unstructured or semi-structured data.
Key Features of MongoDB:
- Schema-less: Allows for flexibility in data storage.
- High Availability: Built-in replication for fault tolerance.
- Scalability: Supports horizontal scaling and sharding across multiple servers.
- Flexible Querying: Supports complex queries and indexing
Installation of MongoDB on Ubuntu
Update package index:
sudo aptupdateInstall MongoDB
Start MongoDB: Enable and start the MongoDB service:
sudo systemctl enable mongod
sudo systemctl start mongod
Check MongoDB Status: Verify that MongoDB is running:
sudo systemctl status mongodAccess MongoDB Shell: Once MongoDB is running, you can access the MongoDB shell:
mongo
These databases—MySQL, PostgreSQL, and MongoDB—are widely used for different types of applications:
- MySQL is ideal for structured data and high-performance relational applications.
- PostgreSQL is suited for complex, large-scale applications that require advanced data handling and extensibility.
- MongoDB is great for modern applications that handle large volumes of unstructured or semi-structured data.
Each database has its strengths and can be chosen based on the needs of your project. You now have a foundation for setting up these databases on Ubuntu and can start experimenting with them to build real-world applications.